XMod Pro is installed just like any other DotNetNuke module. We've laid out a step-by-step process for you below (for DNN 7-9.x, DNN 6, and DNN 5):
DotNetNuke 7.x, 8.x, and 9.x
- Go to http://dnndev.com/Clients/Downloads.aspx and login.
- Download the most recent version of XMod Pro (example XMod Pro 04.01.00 (No Docs)).
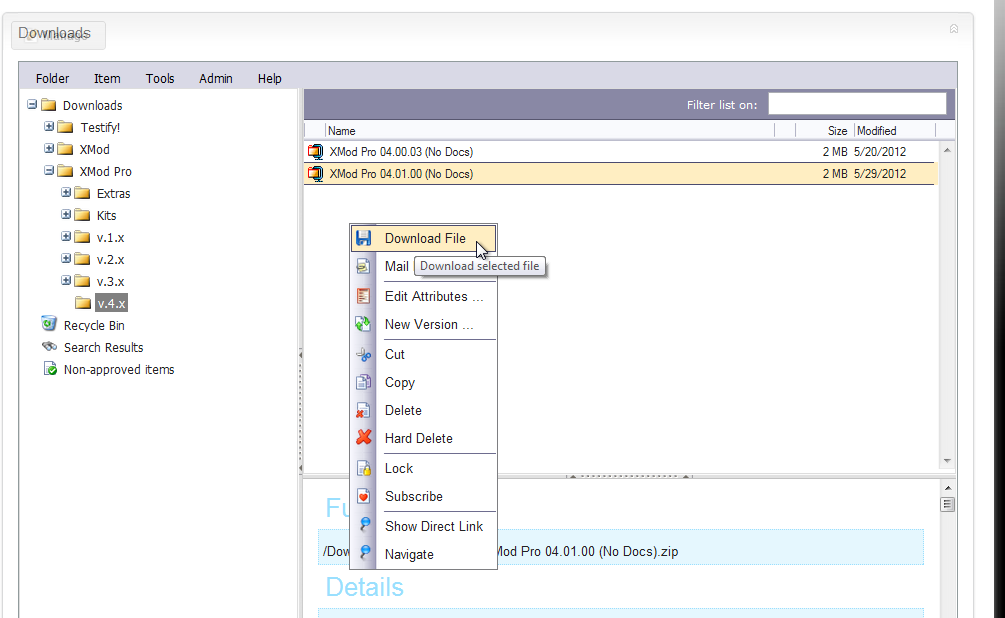
- UNZIP the file by right-clicking and selecting 'Extract'.
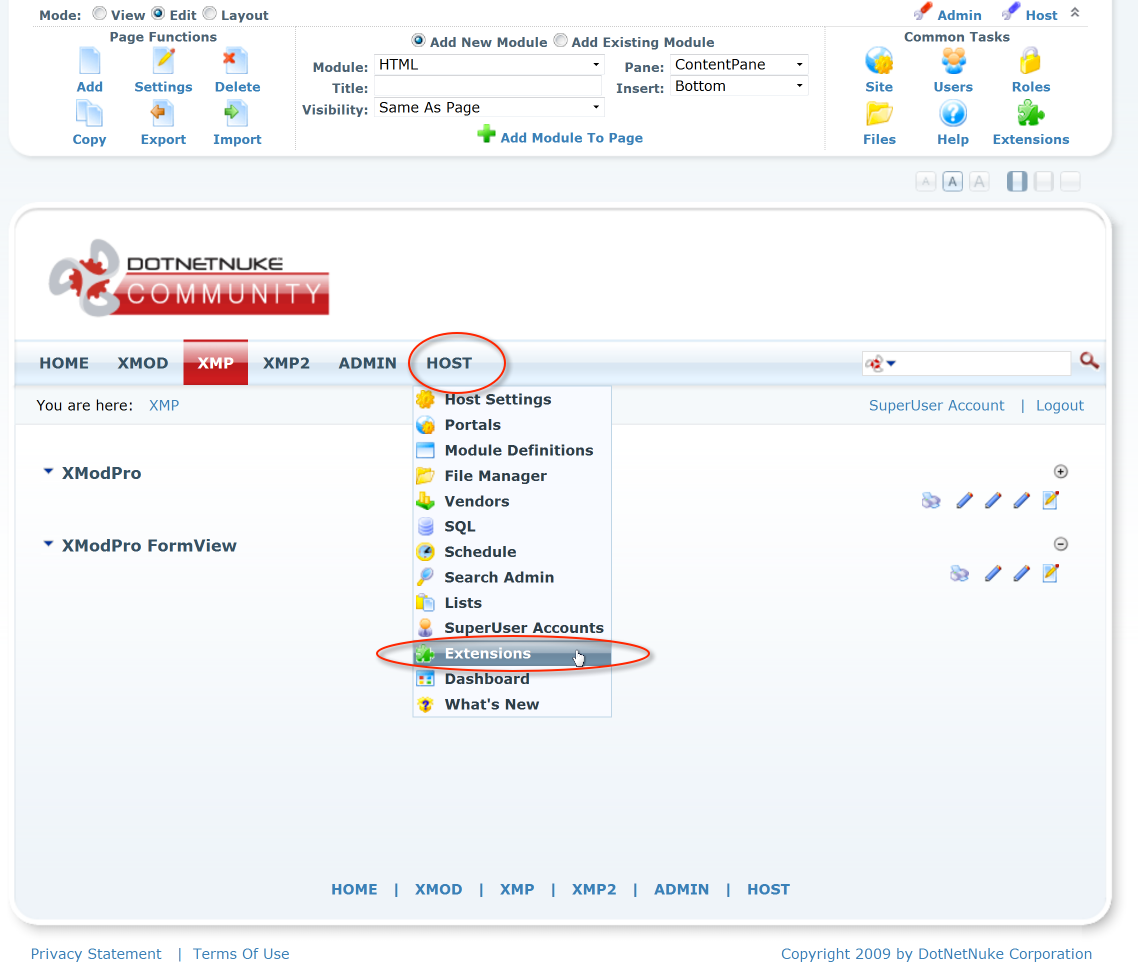
- On your DNN website, Login as a SuperUser
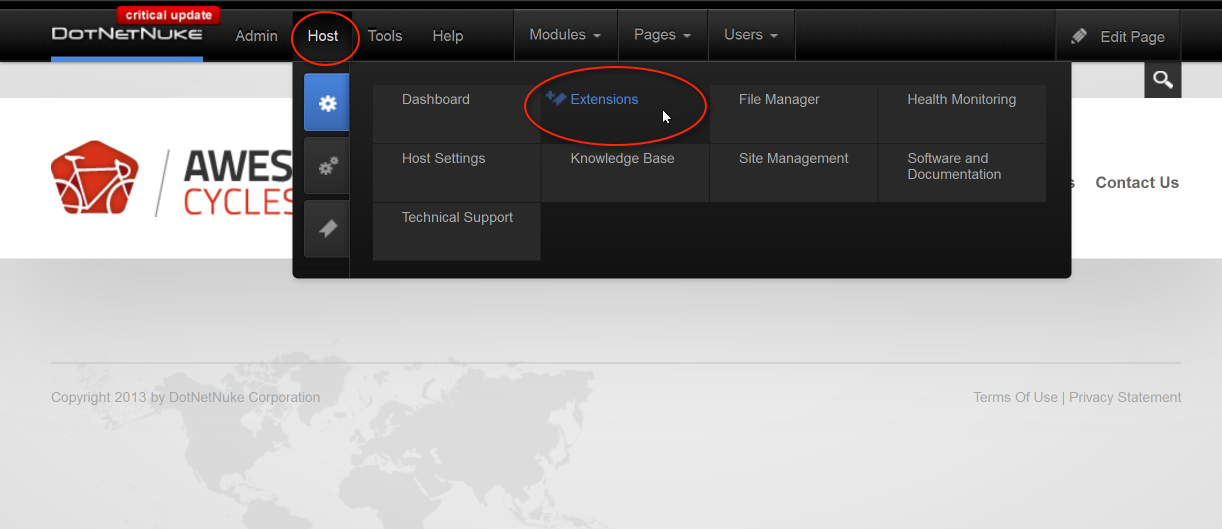
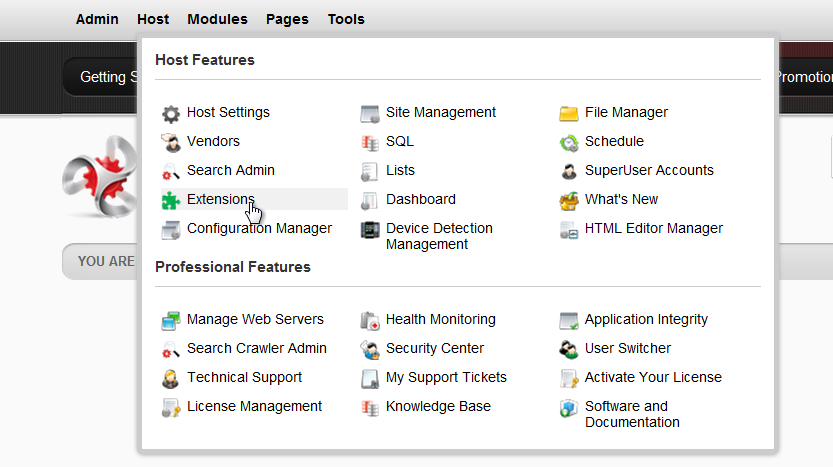
- Go to the Host Menu - select Extensions.
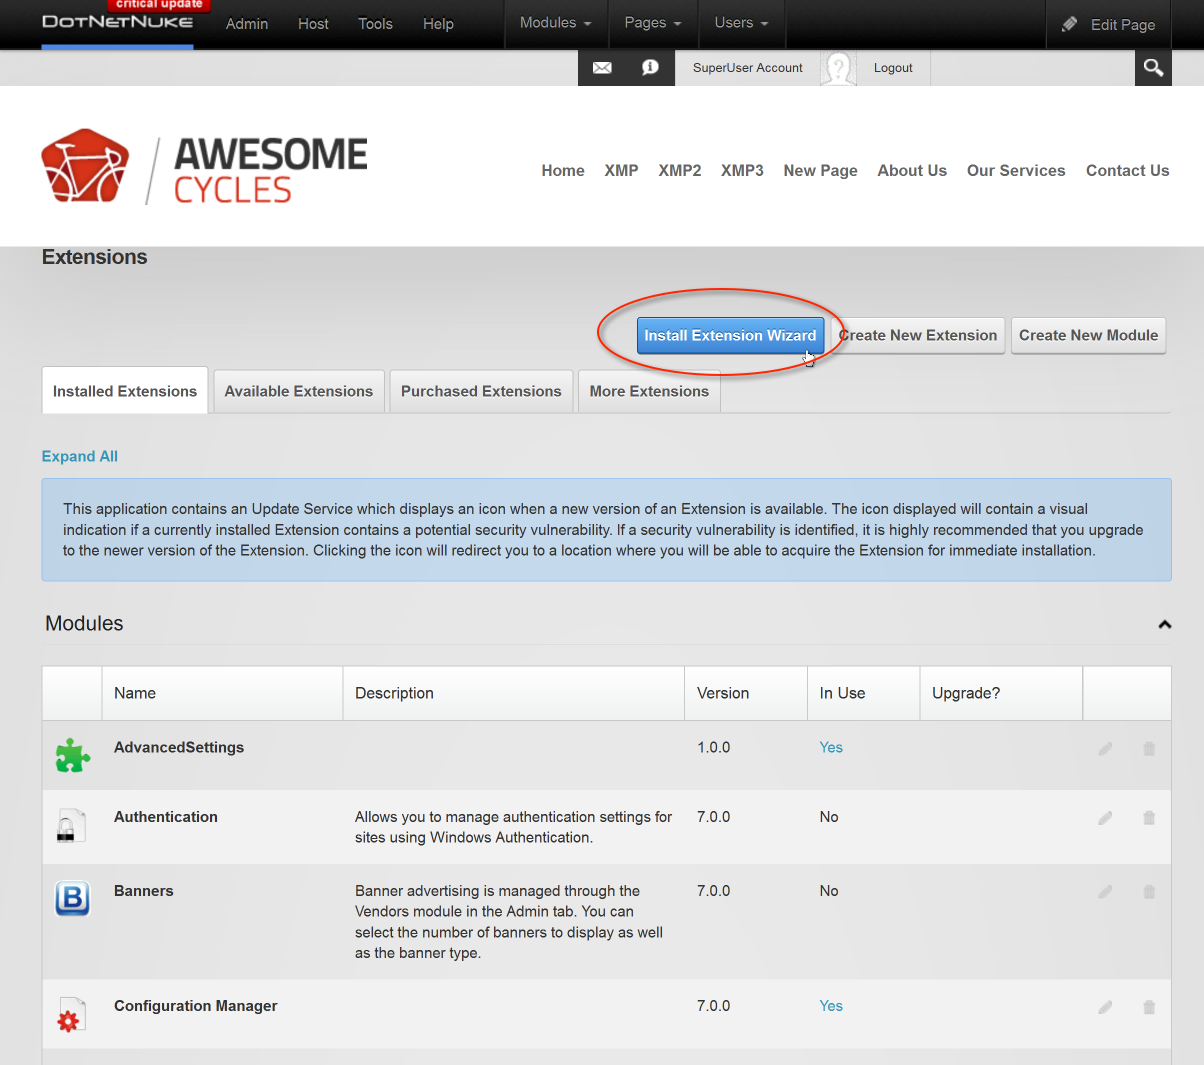
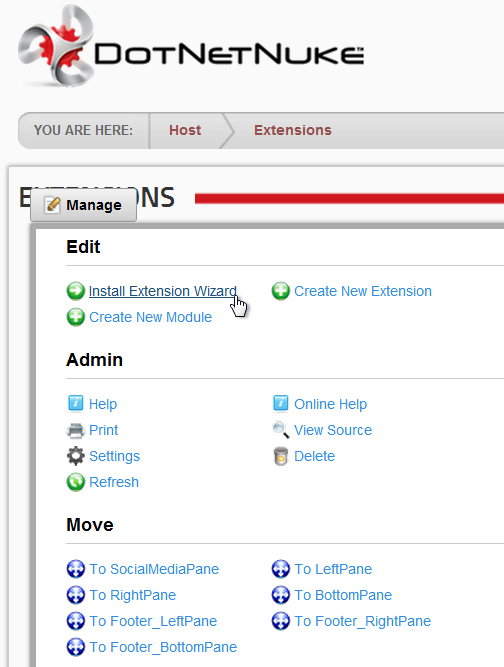
- Extensions: Select Install Extension Wizard.
- My Website > Extensions: To Upload New Extension Package, select Choose File.
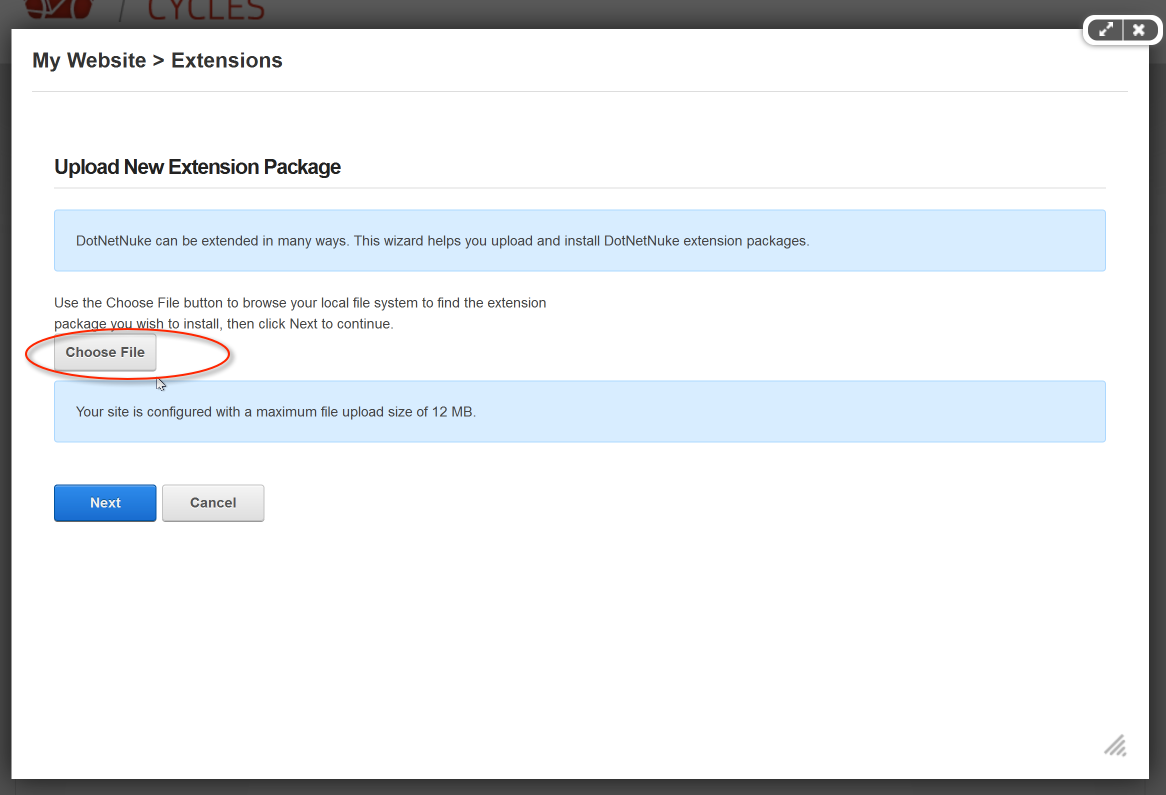
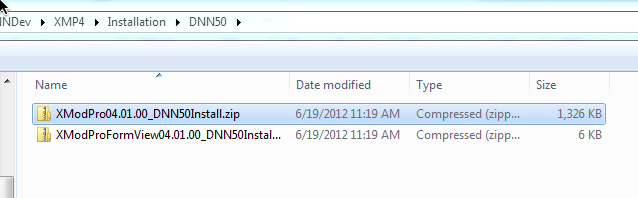
- Select the file in the Installation folder to install the DNN50 file called XModPro04.01.01_DNN50Install. This version is compatible with DNN 7, 6, and 5x.
-
Then, Package Information: select Next
Release Notes: Read and select Next
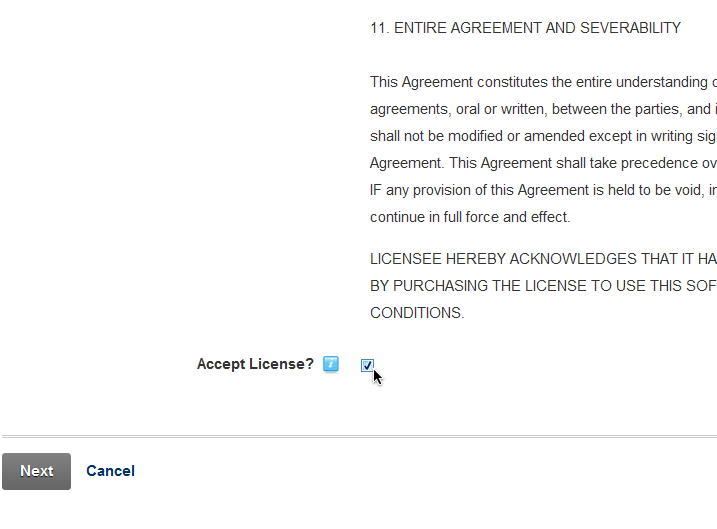
Review License: Read and select 'Accept License', then select Next.
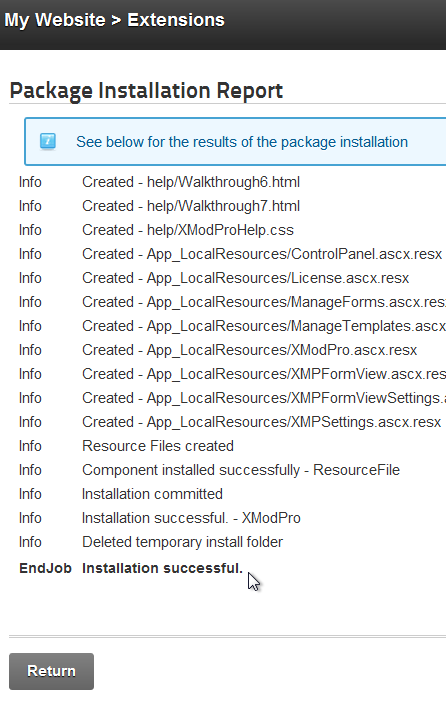
- Package Installation Report: confirm that it says "EndJob Installation successful", then select Return.
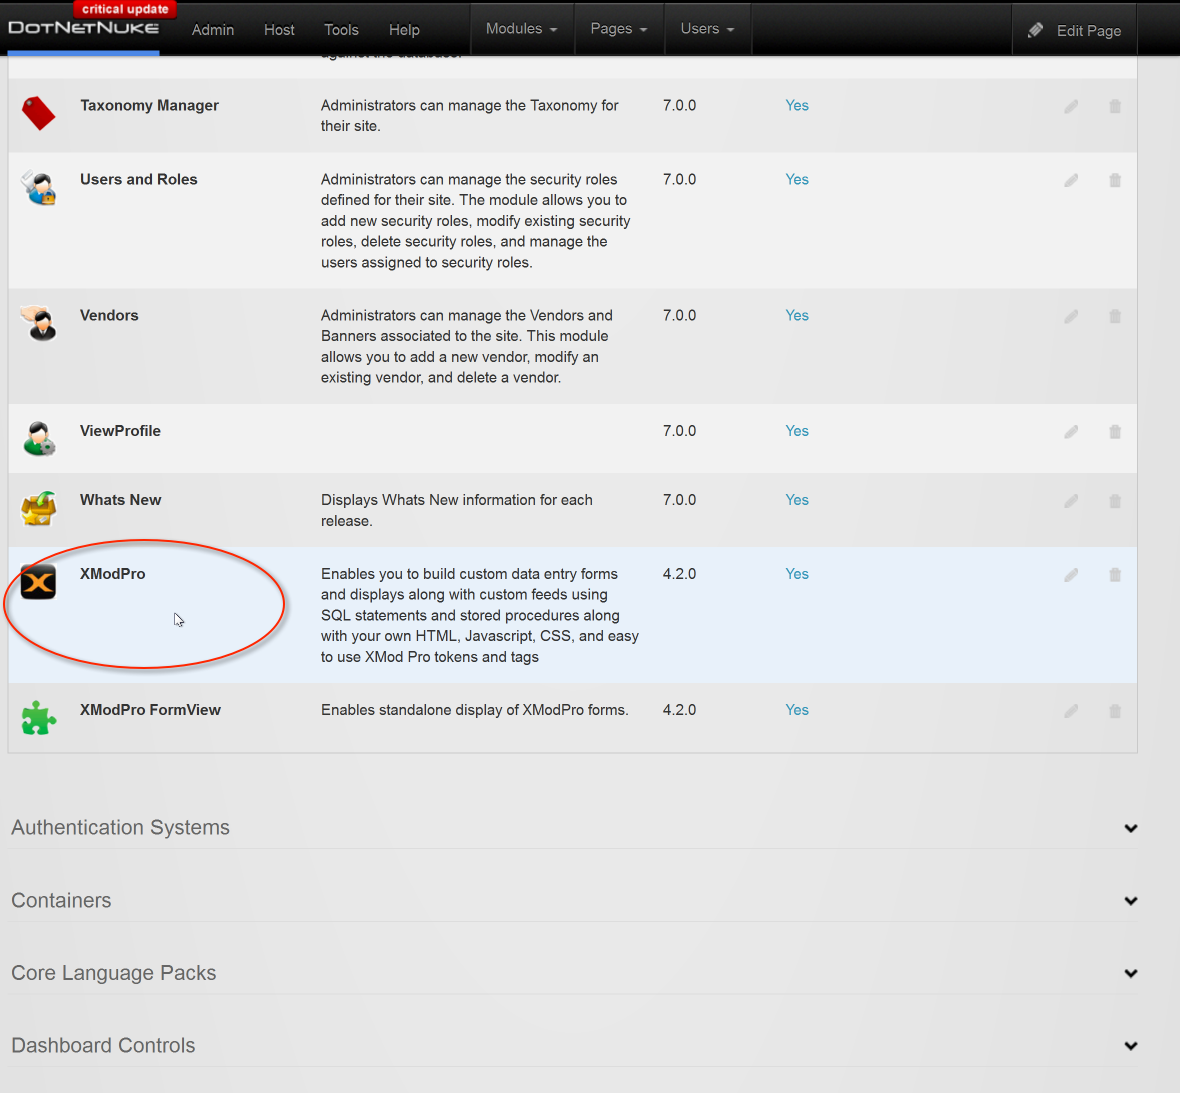
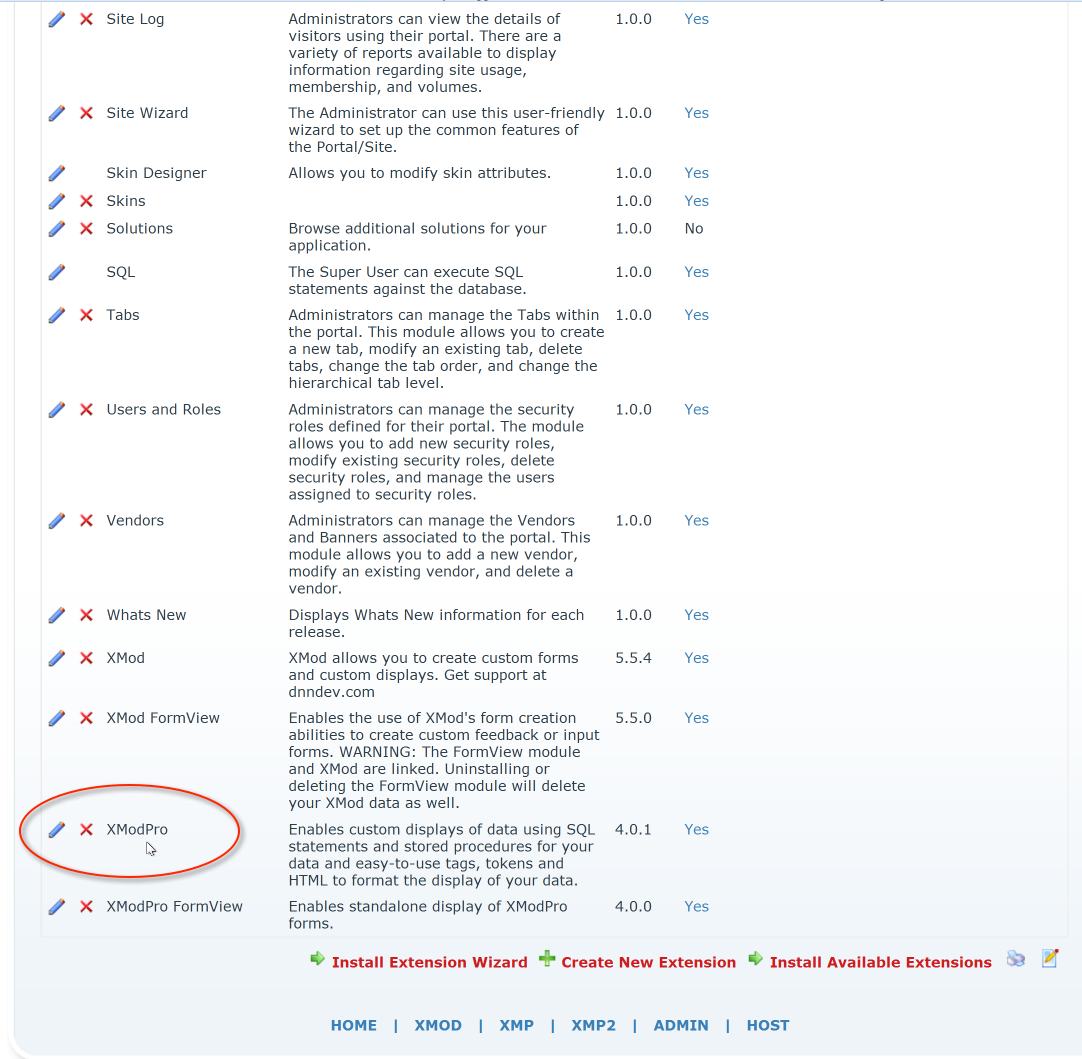
- XMod Pro will then show up on the Extensions page.
- Finally - To add XMod Pro instance to the page of your choice...
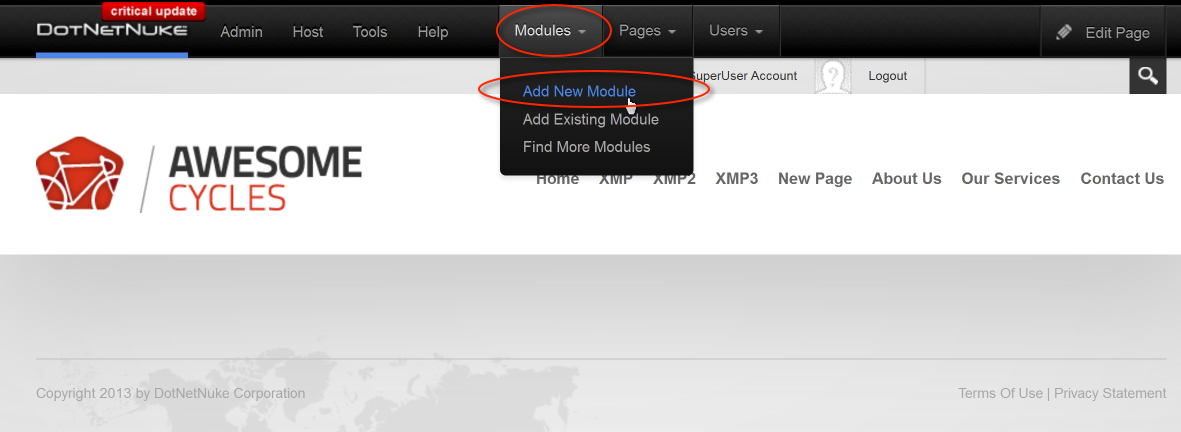
- Go to Modules:
- select Add New Module.
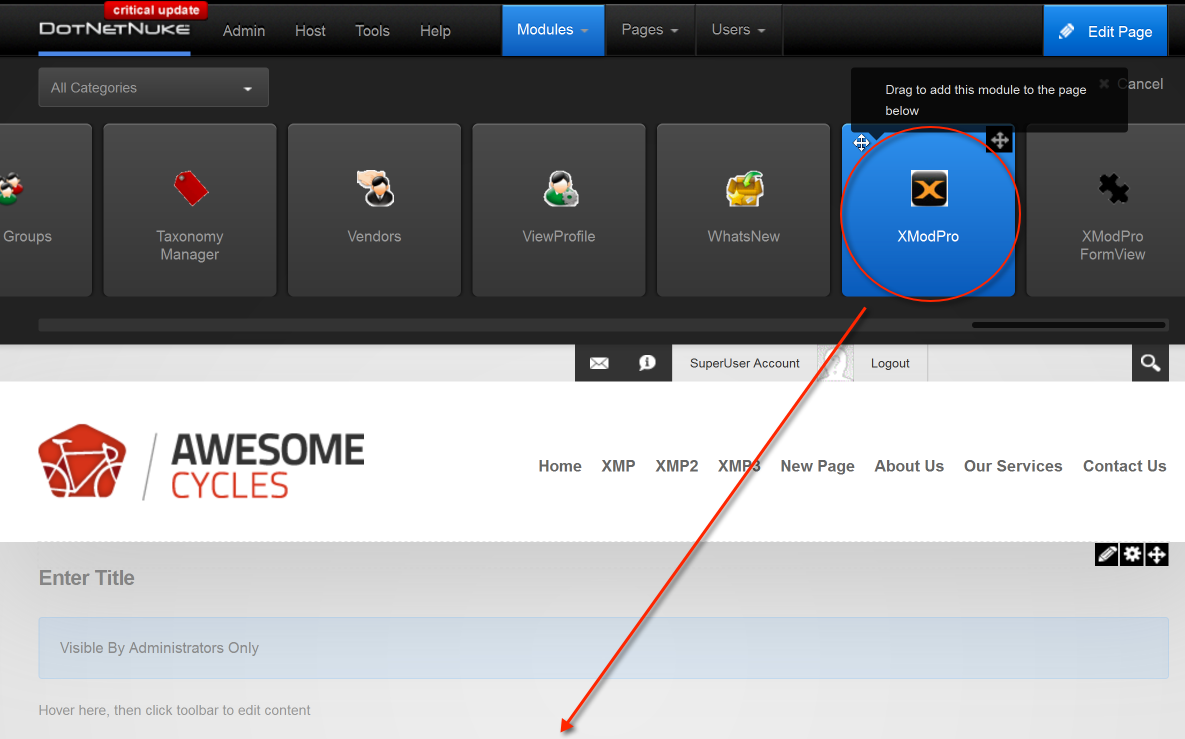
- Module Selection -
- Category: select All Categories
- Using the scrollbar, scroll to the far right to select the XMod Pro module.
- Select and Drag the module to your desired location on the page
Your XMod Pro Module is now installed, on a DNN 7-9.x instance!
DotNetNuke 6
- Go to http://dnndev.com/Clients/Downloads.aspx and login.
- Download the most recent version of XMod Pro (example XMod Pro 04.01.00 (No Docs)).
- Unzip the file by right-clicking and selecting 'Extract'.
- On your DNN website, Login as a SuperUser
- Go to the Host Menu - select Extensions.
- Go to Manage - select Install Extension Wizard.
- New Extension File: To upload the New Extension File, select Choose File.

- Select the file in the Installation folder to install the DNN50 file called XModPro04.01.01_DNN50Install. This version is compatible with DNN 6 and 5x.
-
Then, Package Information: select Next
Release Notes: Read and select Next
Review License: Read and select 'Accept License', then select Next.
- Package Installation Report: confirm that it says "EndJob Installation successful", then select Return.
- XMod Pro will then show up on the Extensions - Modules page.

- Finally - To add XMod Pro instance to the page of your choice...Go to Modules:
At top, select Add New Module
Module Selection - Category: All Categories, Module: XModPro, Name: XModPro
Module Location - select location on page that you desire
At bottom, select Add Module
-
Your XMod Pro Module is now installed, on a DNN 6 instance!
DotNetNuke 5
- Go to http://dnndev.com/Clients/Downloads.aspx and login.
- Download the most recent version of XMod Pro (example XMod Pro 04.01.00 (No Docs)).
- Unzip the file by right-clicking and selecting 'Extract'.
- On your DNN website, Login as a SuperUser
- Go to the Host Menu - select Extensions.
- Go to Extension dropdown - select Install Extension Wizard.

- New Extension File: To upload the New Extension Package, select Browse...
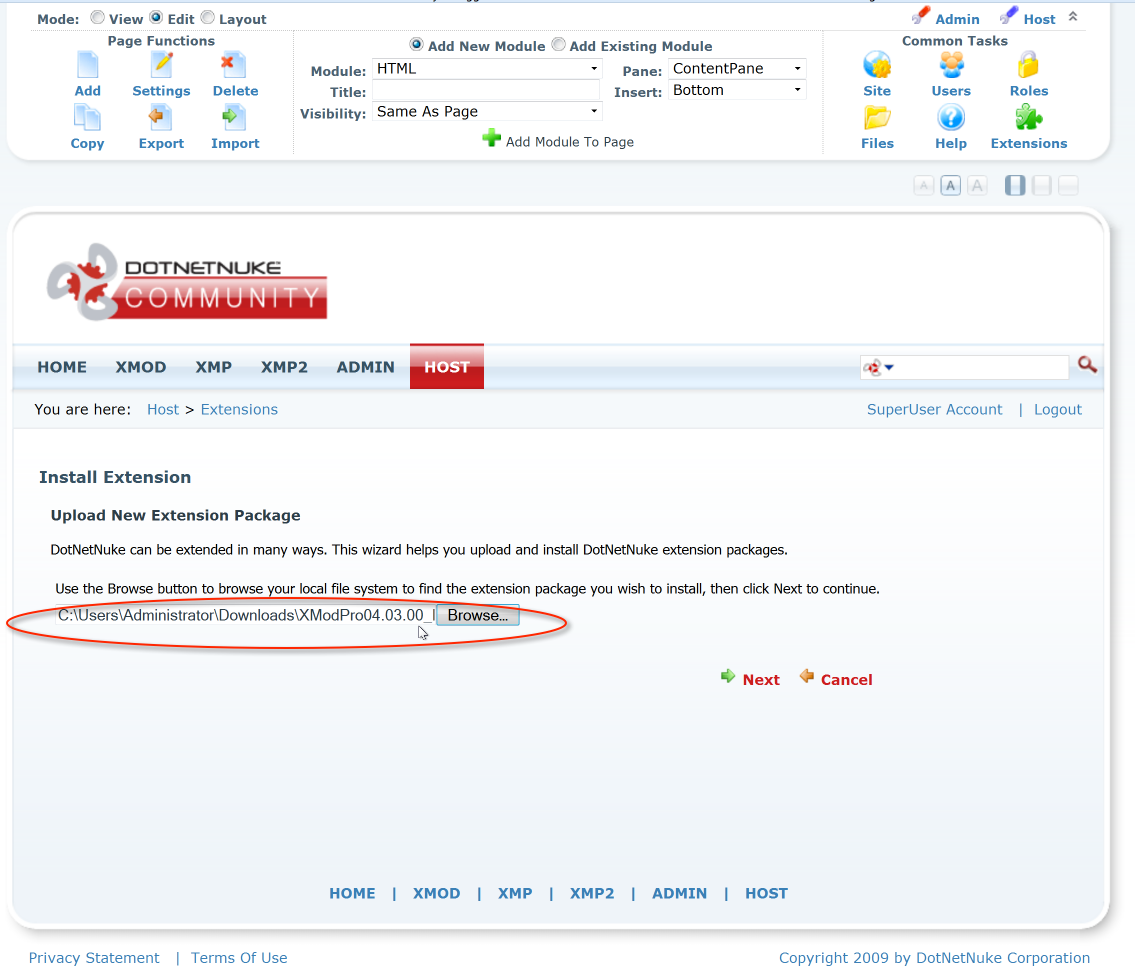
- Select the file in the Installation folder to install the DNN50 file called XModPro04.01.01_DNN50Install. This version is compatible with DNN 6 and 5x.
-
Then, Package Information: select Next
Release Notes: Read and select Next
Review License: Read and select 'Accept License', then select Next.
- Package Installation Report: confirm that it says "EndJob Installation successful", then select Return.
- XMod Pro will then show up on the Extensions - Modules page.
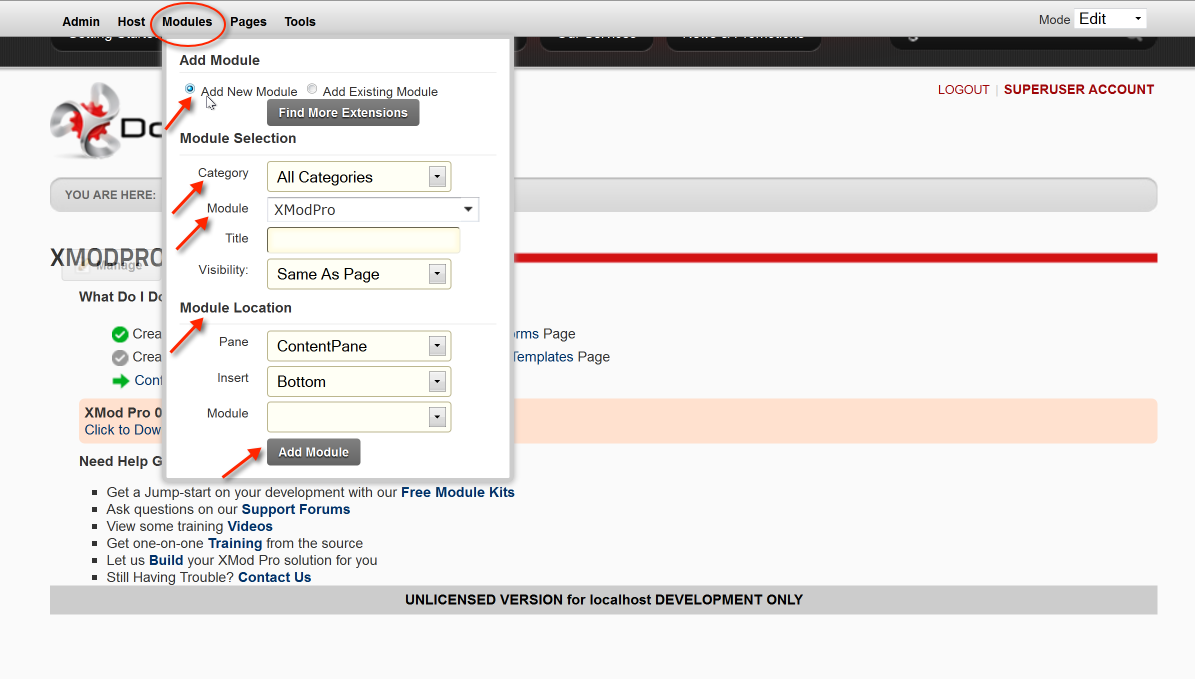
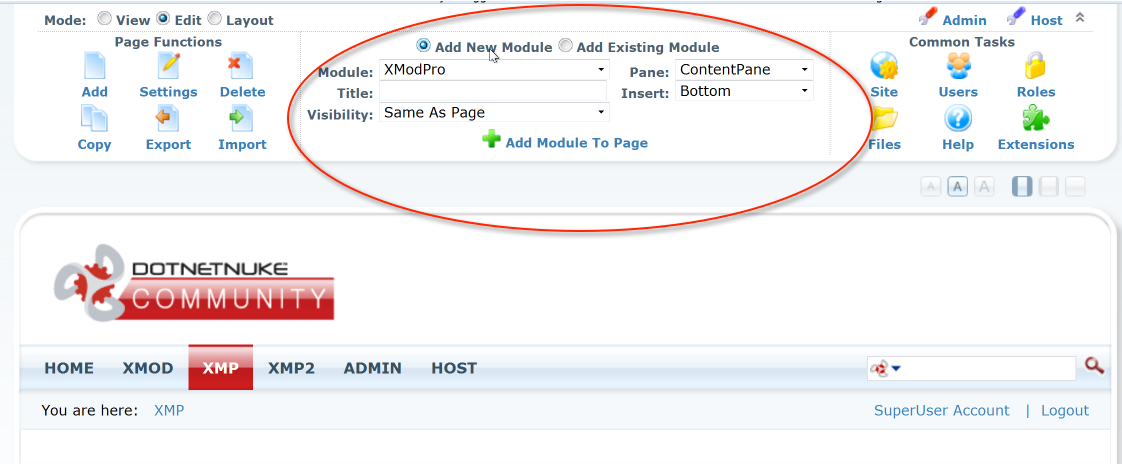
- Finally - To add an XMod Pro instance to the page of your choice...Go to the top of the page, in center:
Select Add New Module button
Module: select XModPro
Pane/Insert: will select the module's location on the page
Title: Give your module a title, if you desire.
Select: + Add Module
-
Your XMod Pro Module is now installed, on a DNN 5 instance!